Development, Construction, and Rehabilitation
If anything could be said to be a constant in Development and Construction, it seems true that each year brings a new load of code, law, and regulation, requiring the parsing of thousands of pages of small print to make sure everything is in compliance! And that doesn't include the particular wishes of the client!
The burden from the energy efficiency side can be hugely mitigated by having a qualified and designated energy efficiency team member from the get-go --yes, even before plans are drawn: early input can save lots of $$$$ and time later.
The biggest single mistake is failing to include an energy efficiency member on your team from the outset of your project! Note that the necessary process starts with the PLANS and CONTRACTS! If your energy efficiency goals and details are NOT included from the very beginning, your project could encounter unnecessary costs and delays, especially if meeting codes is involved.
Energy efficiency professionals have the training to spot potential trouble spots, to make suggestions regarding no or low-cost strategies for EE, and to weigh in on the effectiveness of proposed assemblies.
TIPS For Your Best Strategy Include:
DESIGN PLANS MUST CONTAIN SPECIFIC DETAILS OF EVERY PART OF THE ASSEMBLY:
Make sure that all the air sealing and other efficiency details are explicitly spelled out in your plans, your plan notes, and specified in all your contracts with builders and sub-contractors. Just mentioning “best practices” and referencing the Energy Code is inadequate!! Draw out every single detail on the plans; specify in writing all the materials and methods; include a clause in subs' CONTRACTS for their responsibility for fixing their flawed work if your building/space does not test out at your stated goals. Redundancy is good! Don’t leave anything to the imagination of the subs! Lastly, remind everyone at all regular planning meetings: make sure everyone on staff knows the goals, and all contractors and subs are on board with the plans. Then make sure someone checks out the work early on to make sure that the workers on on track.
TRAINING
Very few workers have any formal training in current best practices in air sealing techniques and duct assembly and sealing methods. Time and money invested up front in providing the proper training can save plenty! Too often, it is more than halfway into a job when supervisors realize that the workers may not be aware of the necessary detailing, and they are doing it “the way we’ve always done this.” Re-doing work always costs a lot more than doing it right the first time!
BUILD A MOCK UP before you start.
Create a wall/ceiling/floor section out of the actual materials for the new or renovated building, or for particularly complex interfaces, showing explicitly how all details need to be handled to meet the efficiency/ air tightness goals. Show supervisors and workers exactly how you expect pipe penetrations, soffits, electrical boxes, communications panels, washer/dryer boxes, etc to be handled, how can lights are to be installed, how walls have to seal to floors and ceilings. When they are in doubt, or someone is new on the job, they should be able to look at the mockup to see what to do.
WHOSE JOB IS IT?
Where different trades' work meets (can we say tile/drywall/ventilation duct opening???), specify whose job it is to make sure that, say, the drywall is sealed to the exhaust flange, or who has to airseal the electrical outlet after the electrician makes a hole in the wall. Specifying these things in the CONTRACTS with the subs will make sorting it out later a lot easier. If the subs realize it is THEIR job to guarantee the airsealing, you won't need a dedicated team to follow after them and fix all the holes.
PLEASE PLEASE PLEASE:
Doublecheck any changes being made on the fly!!! There are many reasons why "AS BUILT" does not always conform to "AS PLANNED." But there is trouble when a change seems so reasonable in the field that the change does not get a plan review. This results in things like ductwork ending up in odd (read troublesome) places or airhandlers being repositioned so future owners of those apartments can't even access them to change the filter! It costs money to fix these things!
TESTING
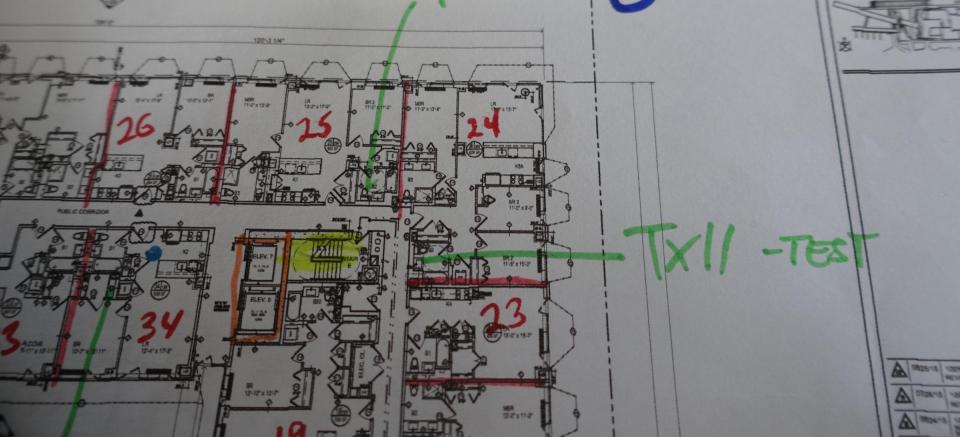
AIR TIGHTNESS TESTING
Blower Door testing will quantify the Air Changes Per Hour, basically measuring the leakiness of an apartment or home. Duct Testing determines the leakage of a duct system - the leakier the system, the less efficient the heating, cooling, or ventilation. A leaky apartment, or a leaky duct system (besides being inefficient and requiring larger equipment), can both be a big source of post-construction complaints, especially regarding unwanted odors and noise. The most frequent complaint I have received is cigarette smoke making its way into the wrong spaces - like the apartment next door with the new baby! Making sure systems are balanced is of course a priority.
For a rough idea of what’s happening when you start your project (to determine if your crew really gets this air sealing thing) you can test it yourself: Any fan sealed into a door way or window, and pulling air out of a sealed space can highlight where possible infiltration leaks might be. This would be a great thing to do when you’re at the early stages of a project, and you want to get an idea of how well your air sealing team has absorbed the critical locations needing sealing. Once you feel you are airtight enough, you can invite the pro to measure it with a Blower Door or Duct Blaster.
With duct work, HVAC contractors always roll their eyes when I ask if their ducts could hold water without leaking, but that really is the point! Traditionally, duct work has been fitted, riveted, or joined without sealant or without even making sure joints are tight, resulting in typical leakages of over 20%--- so of course that is not efficient. New best practices, though allowing for a very small amount of leakage, looks to upgrade practices to have duct workers think more like plumbers: "mastic, a nickel thick."
INFRARED IMAGING
This is useful when temperature differences between inside and outside are great enough to get useful images: the camera can pick up temperature differences that can indicate the presence of water, or, used in conjunction with a running Blower Door, where air might be infiltrating and is otherwise difficult to detect. Also, interior and exterior images can reveal locations where heat flows may be happening. Note that these inspections are weather dependent and solar loading affected, so they may be rescheduled if conditions are not right.